
It is a paradigm for professional videographers to scale up their skills and craft. This strengthens their presence in the market and assists them in harnessing the most out of their potential. It is true that scaling up your videographing craft is time-consuming and demands additional effort along the side.
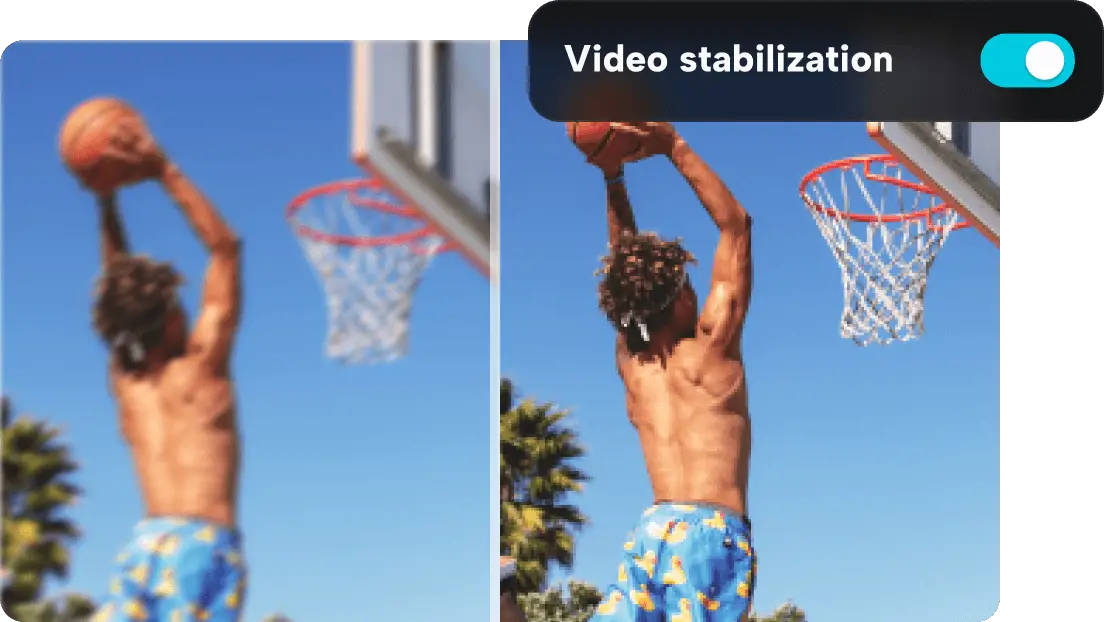
Among videographers, stunning video production requires exceptional expertise to achieve stability and steadiness in their videos. Luckily, a video stabilizer is the only tool that can assist in this regard and act as a lifesaver. The video stabilizer is like the YouTube video editor regarding structure and working.
This comprehensive guide aims to provide sufficient and effective knowledge of video stabilizers and working concepts. This tool can take your professional career to a new level. Sounds captivating? Keep exploring the facts down below!
Video Stabilizer – Elucidating The Purpose
The video stabilizer refers to the application that works on AI (Artificial Intelligence). You can find the video stabilizer online using any search engine browser. The key function of this tool is to assist the videographers in making their footage shots steady and stable. The AI algorithm of the video stabilizer makes it capable of performing every kind of tweaking or adjustment itself, thus eliminating the need for manual input.
Video Stabilizer Functioning – Step By Step
The video stabilizer function comprises a few steps. Following up on these steps will keep you going. These steps are:
- The functioning starts when you visit the main platform of the CapCut service. Visiting this platform gives you access to the landing page. While observing the structure of the main page, you will see a menu bar on top of the landing page. This menu bar contains multiple options. Among these options are tools, resources, downloads, create, and templates. Go to the tool section lying on the menu bar. After that, multiple tooling categories will open right in front of you. These categories feature tools for image, audio, and video editing. Go to the video section and click on the video stabilization tool from the list. This will take you to the main page of the video stabilizer.

- Later in the functioning process, you must upload the video you want to stabilize. You can deal with it in multiple ways. The first way is to click on the upload image tab on the main landing page, which you will see after visiting the video stabilizer page. Clicking on this will open up a new window. You can access the location using this window to the video file in your system. The second option is selecting the file from anywhere and dragging it to the upload video tab section. This is good for the cloud storage and Google Drive section.

- After uploading the video, the AI technology takes the lead. The algorithm automatically tweaks any instability or unsteadiness in your videos. There is no tweaking you need to do in these videos. Also, you dont need to get familiar with the parameters to tweak the video stabilization. But the thing you get in this step is determining the difference between your video and the video you get after processing. You can witness the changes by clicking the revert option in the top right corner.

- The final step is the downloading of the video. You can use the export tab in the top right corner to facilitate this process. Click on this tab, and it will open up multiple options. You can download your stabilized video, share it on TikTok, put it as an ad on TikTok, etc. Apart from this, by using a magic tool, you can tweak the final appearance, such as the speed of the video, eliminate blurriness, and much more.
How Video Stabilizer Can Benefit You?
You can benefit from the video stabilizer in many different ways. Some of the key ways that you need to consider are:
Zero Manual Input
The video stabilizer does require anything from your side to deal with. The AI technology is all in all. Whether it needs to remove flaws or errors or contribute to aesthetics, the video stabilizer will help you on the go. This can save you from manual tweaking and speed up the process.
More Output in Less Time
Another great feature of the video stabilizer is that you can tweak or edit multiple videos in less time. If you have a bulk task, you can deal with them professionally and quickly. This does not affect your market reputation when it comes to timely deliveries.
Error Free Results
The video stabilizer ensures zero errors or flaws in moving objects or things. You can eliminate or eliminate the fadedness or blurriness by using the video stabilizer. You will also not experience any kind of distortion in the final output.
Free
The video stabilizer will be your top choice if you are tight on your budget. This is because you don’t need to pay anything while using it. It poses no limit on the videos you can stabilize. This is what differentiates this tool from the rest.
What Scenarios Feature Higher Suitability For Video Stabilizer Utilization?
There are multiple scenarios exist that feature and demand the usage of the video stabilizer, such as:
- You can use the video stabilizer for short videos or films. This will help you cope with smoother transitions and better results.
- An option exists to use the video stabilizer for the time-lapse videos. This way, you can smoothen out the fast-paced sequences.
- You can add stabilization for the drone footage, which involves continuous motion and a jittery effect.